Hello everyone this is Clint, your Board Game Hero. In this article I just want to share with you some of the lessons I’ve gathered since I started in the Boardgaming hobby. I’m sure some of you already know most, if not all, of this but I am hoping that this list can help those people who are new to the hobby.
You can watch the video here
or you can go ahead and continue reading:
1. Dice Tray Picture Frame
You can make your own dice tray by simply re-using an old picture frame as long as it has borders that are at least an inch deep. Simply place a piece of cork board where a photo should be, and there you go you can start rolling dice on your new dice tray.

2. Keep the Shrink-wrap On
When getting a new game it usually comes wrapped in plastic shrink-wrap. To prolong the life of the box cover you can keep the upper portion of the shrink-wrap on for some time (or until it gets wrinkly). To do this, flip the box, use a hobby knife or a cutter and make a cut along the gap between the cover and the main box. You will have a square or rectangular piece of shrink-wrap that you can remove. You are now able to remove the cover of the box normally.


3. Make Unpainted Miniatures Presentable By Priming Them
Most board games come with miniature figures and most of the time it has no color. For people who don’t really paint their minis and those who has a lot of backlogs, one quick way to make your miniatures presentable is by dry brushing them with white or any lighter color of your choosing. Like this Necro Dragon from Black Rose Wars below

- First, spray your miniature with a matte black paint (I use Bosny: Flat Black).
- Then, get a flat paint brush and dab it on some white acrylic paint.
- This step is important: Remove the majority of the white paint from the brush using a tissue or cloth but do not remove it completely.
- Then, lightly brush your miniature with the flat brush as if you are dusting it.
Doing it this way means you won’t have to delay playing the game just so you could paint all the miniatures. You’ll have presentable miniature figures in under 15 minutes.
Another way to achieve this effect is following the Zenithal priming technique as seen in this video: https://www.youtube.com/watch?v=vqTBXIm92iI or join Pilipintados Fb Group for more painting tips and techniques
4. Punch Your Zip Bags
One common problem when putting components back in the box is having the zip bags fill with air causing it to take up unwanted space inside the box. One quick solution is to get a handheld puncher, and put a hole on your plastic zip bags. This way, air gets out and you only have to squeeze it a little before putting it back in the box.


5. Use Dice Display Cases to Store Memories of the Hobby
When buying dice sets, especially the Chessex brand, they come in plastic storage cases. After transferring your dice to a dice bag (you should) you can repurpose those storage cases as a display case in which you can store the memorable pieces throughout your journey in the hobby. Like the first D20 you used while playing D&D, your first painted miniature, your first metal coin, your first torn up card from a legacy game, etc.


6. Create Miniatures and Components With Air Dry Clay
In craft stores you can purchase air dry clays. It does not need baking in order to harden, you just leave it alone and let dry for some time (~24 hours). You can use this to make your own miniature, wargaming terrain and custom game components.


7. Dice tower out of a pringles can
You love Pringles? No? Now you will. You can make your own dice tower using a can of Pringles.
- Make 3 diagonal cuts on its side
- Insert a cardboard or an old card between each of the cuts (use glue gun to make it stick)
- Make a half circle hole at the bottom
- Add an incline or ramp for the dice to roll through.

Voila! Your own dice tower.
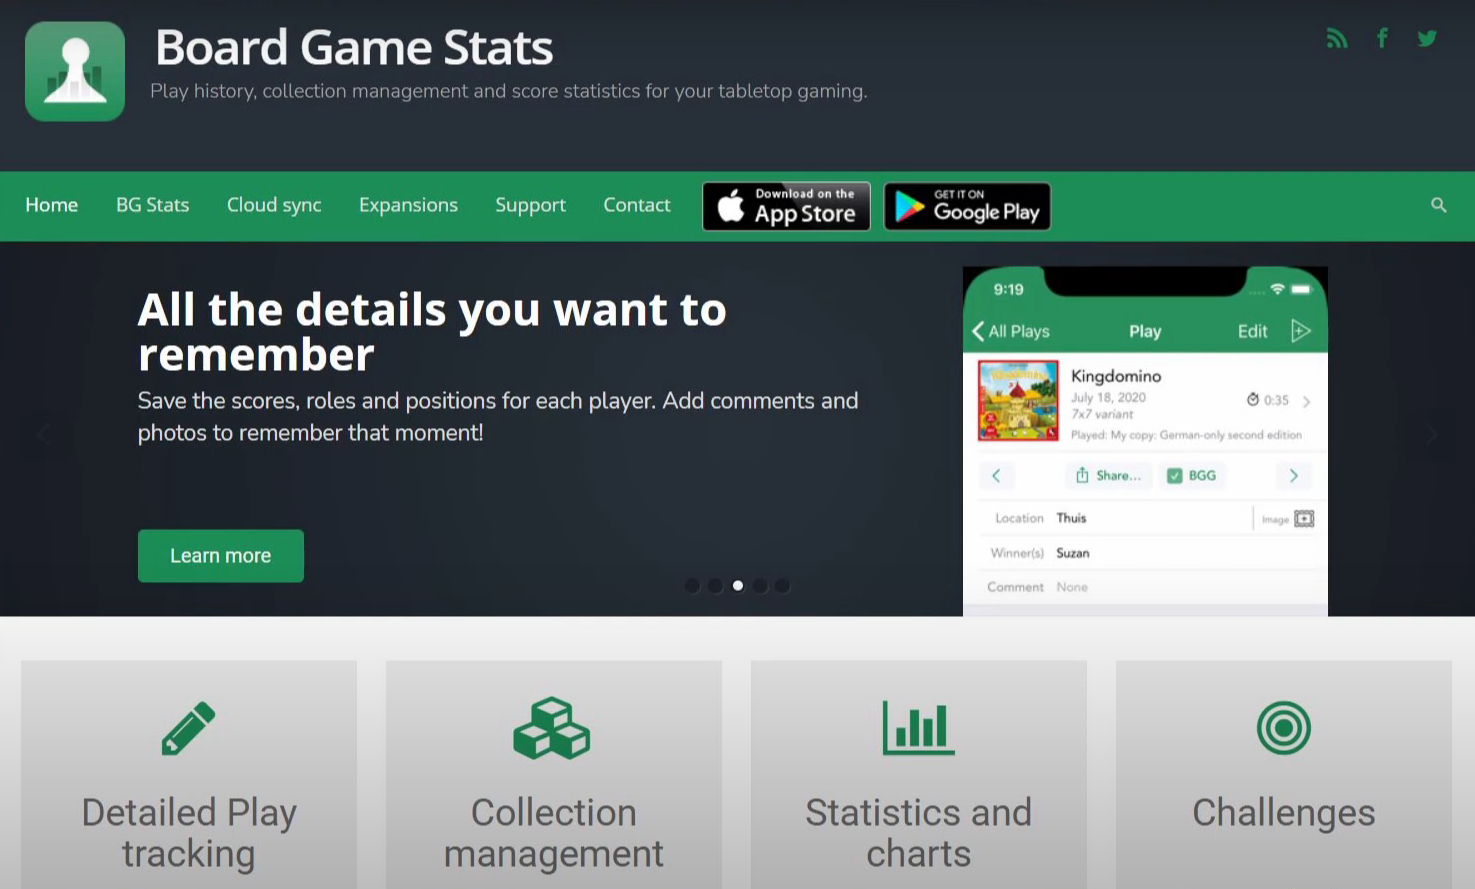
8. Download BGStats App
If you want to record your plays, keep track of your collection, or if you just love data, you can get the Board Game Stats app for free and you’ll have a tool built for just that. If you have a board game geek account, you can synchronize your collection and sessions.
9. Custom Board Game Insert Using Foam Board
You can make your own board game inserts using foam board or foam core (49.00 pesos only for one sheet). Download schematics and blueprints from the board game geek files section or forum (or you can make your own), cut your board in correct measurement, stick them with a glue gun and you have your custom game insert.

List of DIY Foam Core inserts: https://boardgamegeek.com/geeklist/115468/diy-foam-core-insert-master-list
10. Laminate Your Roll-And-Write Sheets
Love Roll & Write games? Are you worried the printed sheets might just run out? Worry no more! You can laminate the sheets, get a whiteboard marker and an eraser. You’ll only ever need 1 sheet (per player)!

Check out MiniMeeple’s tutorial here: https://minimeeple.com/how-to-laminate-your-roll-and-writes/
11. Throw in Silica Gels In Boxes to Control Moisture
New game? Found a silica gel packet? Well, silica gels are thrown in the boxes for a reason; it controls the moisture and keeps the components in good condition for a long time. Board games most often stay on the shelves of game stores and game collectors, and without this inside the components will get damaged, rot and mold in the long run.

Check out this tip from sortalife.com: https://www.sortalife.com/board-games/how-to-store-board-games-for-long-time-when-not-used/
12. Get a Cutting Mat If You Print & Play, Paint Minis or Craft
If you paint miniatures, print and cut cards, or craft your own terrain, a self-healing cutting mat will be your best friend. It will protect your table from the droppings and scratches that you’ll cause doing these things.

13. Get a Mini Easel To Place Your Reference Card When Painting
When painting miniatures for a board game, whether be it heroes, monsters or furniture, you can find references in the rulebook, art book and even the cards themselves. If you’re using a card as reference, getting a mini easel will be useful to you.


14. Board Game Geek
Board Game Geek is an online resource and community for board gamers, publishers and designers. It is the largest and most up-to-date place to get information about the hobby. You can find official answers, ruling, re-theme, unofficial and official variants, printable files and more. Creating an account is easy and it’s free!


15. Join Local Community Groups
There are a lot of Facebook groups for our hobby, most of them are international but there are now also local groups such as Philippine Boardgame Enthusiasts, Tabletop Gateway PH, Solo Boardgamers Philippines, Pilipintados, Unpub PH and many more!
If you want a place to get tips and advice, share photos and discuss the games you’ve played, then join these groups and start engaging! The local community is very welcoming, h’wag ka’ng ma-hiya.

I am sure I forgot something that you probably know, if I did please share it in the comments. For more of this in the future, be sure to check out and follow VariablePlay and me, Board Game Hero, on Facebook, Instagram, Twitter and YouTube.
Alright! That’s all I have for now. This is the Board Game Hero, thank you for reading. See you again next time! 👍